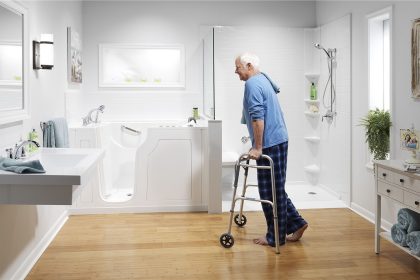

Ensuring safety in the bathroom is a top priority for seniors and their caregivers. One of the most effective ways to reduce the risk of slips and falls is by installing grab bars in the shower. These simple yet essential bathroom modifications offer stability and confidence, making daily routines safer and more comfortable. Whether you’re looking to upgrade your own home or assist a loved one, understanding the best grab bars for shower safety and how to install them correctly is crucial.
In this comprehensive guide, we’ll explore the different types of grab bars, offer practical advice on choosing the right ones, and walk you through the installation process step-by-step. With the right knowledge and tools, you can create a safer bathroom environment that supports independence and peace of mind.
Why Grab Bars Are Essential for Shower Safety
Bathrooms are one of the most common places where falls happen, especially in the shower, where wet surfaces increase the risk. Grab bars provide a sturdy handhold, helping seniors maintain balance and prevent accidents. They also assist with movement, such as stepping in and out of the shower or standing up after sitting on a shower seat.
For seniors, fall prevention is not just about avoiding minor injuries; falls can lead to serious complications and loss of independence. Installing grab bars is a simple modification that can dramatically reduce these risks and support safer bathing experiences.
Types of Grab Bars: Which One is Right for You?
Not all grab bars are created equal. Choosing the right style depends on personal needs, bathroom layout, and aesthetic preferences. Here are the most common types:
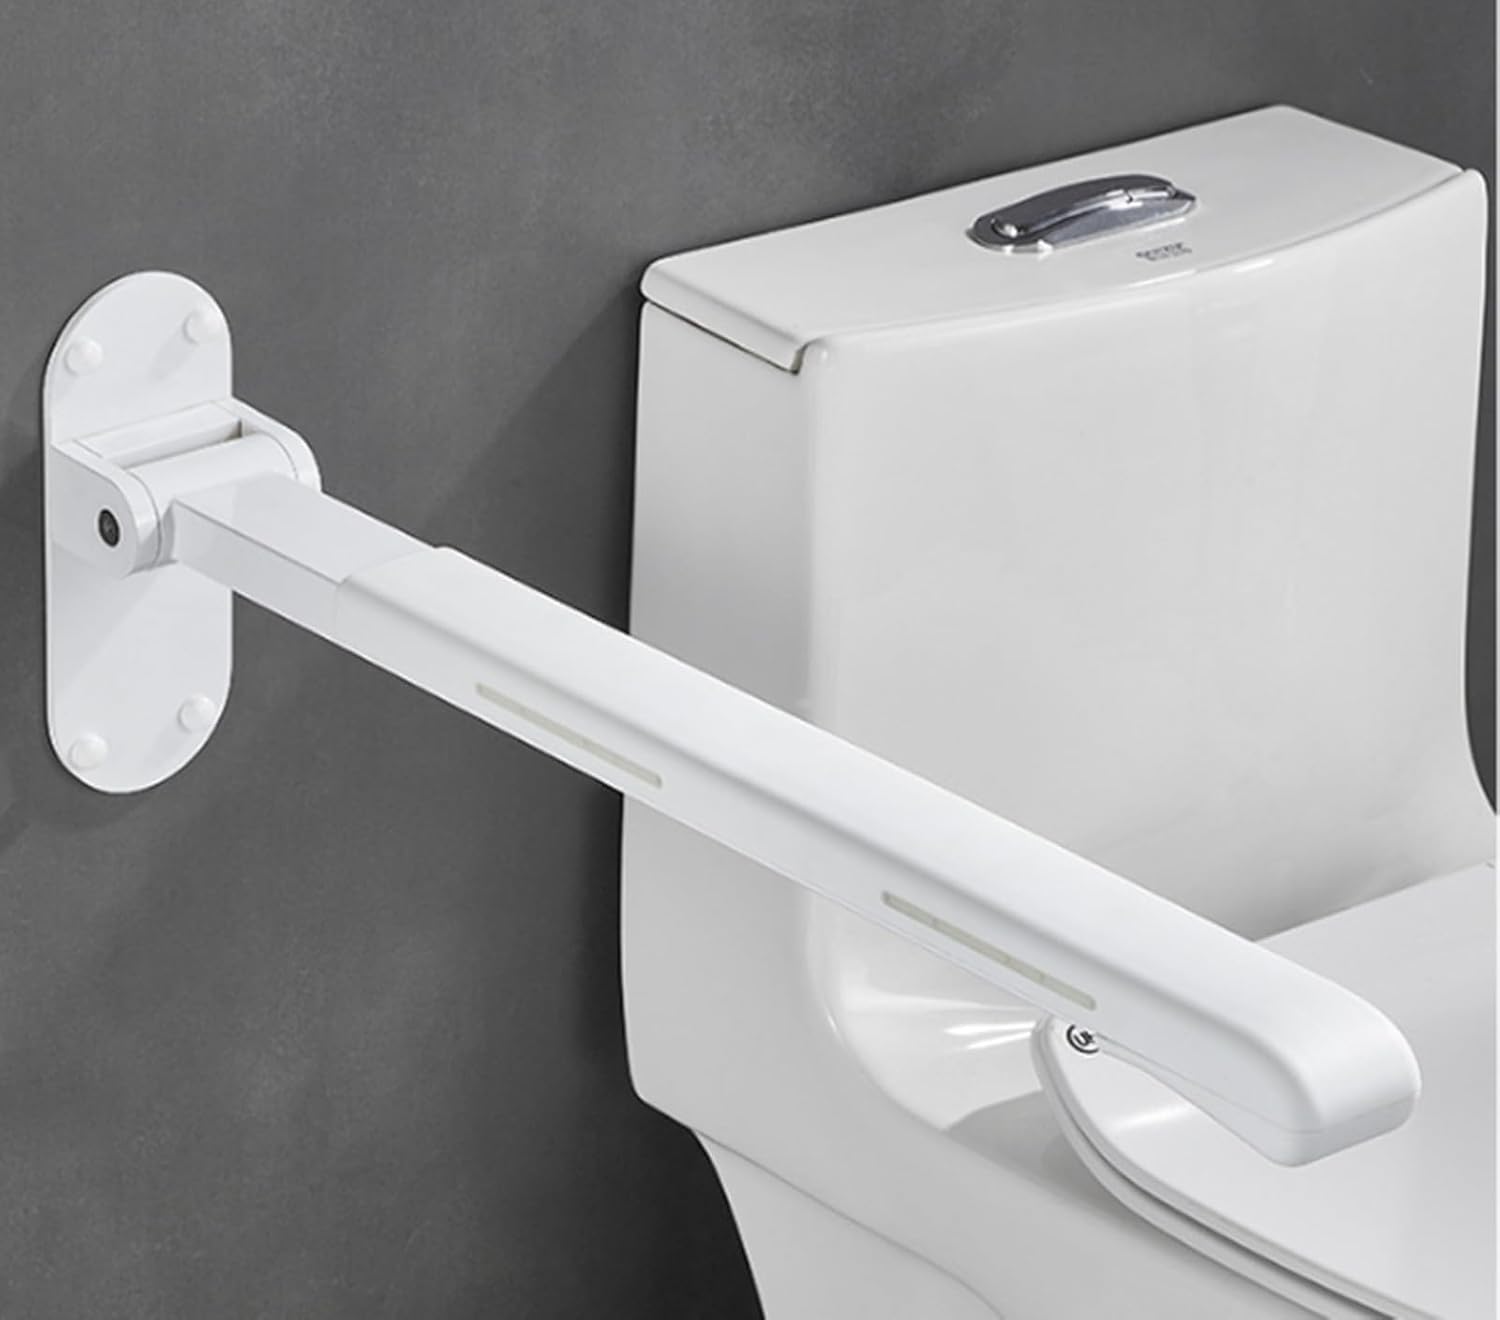
1. Straight Grab Bars
The most traditional and widely used type, straight grab bars provide a firm and reliable grip. They come in various lengths, typically ranging from 12 to 48 inches, and can be mounted horizontally, vertically, or diagonally depending on where support is needed.
2. Angled Grab Bars
Angled grab bars offer versatile grip positions and are especially useful for helping with sitting down or standing up movements. Their diagonal orientation aligns with natural hand movement, making them a popular choice in showers.
3. L-Shaped Grab Bars
Combining vertical and horizontal support, L-shaped bars are ideal near shower seats or tubs. They provide multiple grip options in one fixture, enhancing stability from different angles.
4. Suction Cup Grab Bars
These temporary bars stick to smooth surfaces via suction cups and don’t require drilling. Although convenient for renters or short-term use, they are generally less secure and not recommended as a primary safety solution.
5. Decorative Grab Bars
For those concerned about bathroom aesthetics, decorative grab bars blend safety with style. Available in various finishes like brushed nickel or bronze, they provide support without compromising the look of your bathroom.
Top Grab Bars for Shower Safety: Comparison Table
| Type | Best For | Installation | Pros | Cons |
|---|---|---|---|---|
| Straight Grab Bars | General support anywhere in shower | Permanent (drilled) | Strong, versatile, multiple lengths available | Requires wall studs for secure mounting |
| Angled Grab Bars | Assisting sitting and standing movements | Permanent (drilled) | Ergonomic grip, supports multiple motions | May require precise placement |
| L-Shaped Grab Bars | Near shower seats and tubs | Permanent (drilled) | Multiple grip options, highly stable | Can be bulky, requires space |
| Suction Cup Grab Bars | Temporary or rental situations | No drilling | Easy to install and remove | Less secure, risk of slipping |
| Decorative Grab Bars | Stylish safety solution | Permanent (drilled) | Blends with bathroom decor | May cost more |
How to Choose the Right Grab Bars for Your Shower
When selecting grab bars, consider the following key factors:
- Weight Capacity: Ensure the grab bar can support at least 250 pounds, or more if necessary.
- Material and Finish: Stainless steel is durable and rust-resistant, essential for wet environments.
- Length and Placement: Measure your shower space and think about where you need the most support.
- Mounting Surface: Solid walls or studs provide the safest mounting points. Avoid drywall-only installations.
- User Needs: Consider the user’s height, strength, and mobility challenges to determine the best bar type and location.
Step-by-Step Installation Guide for Grab Bars
Installing grab bars might seem intimidating, but with the right tools and preparation, it can be a straightforward DIY project. Here’s how to do it safely and effectively:
1. Gather Your Tools and Materials
- Grab bars (with mounting hardware)
- Electric drill with masonry or wood bits
- Stud finder
- Level
- Measuring tape
- Masking tape
- Pencil
- Screwdriver
2. Choose the Best Locations
Identify where you need support most, such as near the shower entrance, by the shower seat, or along the walls where the user needs to hold for balance. Use a stud finder to locate wall studs behind the shower walls. Mounting directly into studs ensures maximum strength.
3. Mark and Prepare
Use a pencil and masking tape to mark drill holes on the wall at the desired height (usually between 33 and 36 inches from the floor, but adjust to user comfort). Double-check with a level to ensure the grab bar will be straight.
4. Drill Pilot Holes
Using the drill bit appropriate for your wall type, carefully drill pilot holes at the marked spots. For tile walls, use a masonry bit and go slowly to avoid cracking tiles.
5. Attach the Grab Bars
Align the grab bar with the pilot holes and secure it using the included screws. Tighten firmly but avoid over-tightening, which can damage the wall or the bar.
6. Test Stability
Once installed, test the grab bar by applying weight to ensure it doesn’t move. A securely installed grab bar should hold firm without any wobble.
Tips for Maintaining Grab Bars for Long-Term Safety
To keep your grab bars safe and functional over time, follow these simple maintenance tips:
- Regularly check screws and mounts for looseness, tightening if necessary.
- Clean bars with mild soap and water to prevent buildup of soap scum or mildew.
- Avoid hanging heavy items on grab bars as this can weaken mounts.
- Replace any damaged or rusting bars immediately.
Additional Bathroom Modifications to Enhance Shower Safety
While grab bars are a critical component, combining them with other safety features can further reduce fall risks:
- Non-slip mats or adhesive strips: Use on shower floors to prevent slipping.
- Shower seats or benches: Allow sitting while bathing, reducing fatigue and risk.
- Handheld shower heads: Increase accessibility and ease of use.
- Good lighting: Ensure the shower area is well-lit to prevent missteps.
Conclusion: Prioritize Safety with the Best Grab Bars for Your Shower
Investing in quality grab bars is one of the smartest and most effective ways to promote shower safety for seniors. By selecting the right type, installing them securely, and maintaining them properly, you can significantly reduce the risk of falls and enhance confidence during daily bathing routines. Whether you’re a senior looking to age in place safely or a caregiver supporting a loved one, these bathroom modifications make a meaningful difference.
Ready to improve your shower safety today? Start by choosing the grab bars that fit your needs and follow our installation guide to ensure a secure setup. For more home modification tips and senior safety advice, visit SeniorRadar.com and take the next step toward a safer, more comfortable home.